You may think Christmas is for Cooking. No, it’s for doing Crazy stuff. Like DIY beauty dish for less than 10 bucks. So here’s the premise – I pretend like I am on a vacation trip somewhere in USA with only my camera and my Nikon SB-800 flash on me and I am being asked to do some headshots. No other equipment available – I can’t borrow anything and I don’t have money to buy anything. I don’t want to spend a lot of money on something I will have to throw away at the end of the shoot and I don’t have much time to ponder either. I need a beauty dish (or a soft box, but that’s another project) here and now.
I had some turkey frying pans I bought in 99 cent store, so I am sure these would be available pretty much anywhere. I used this one – it has the most depth and it’s diagonal is around 15 inches – good enough for some close-ups or still shots.
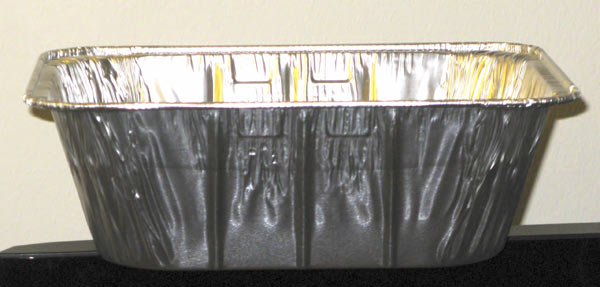
Just so you would have an idea of the size of this thing:
Width: 10 ⁵/₁₆ “(26.4 cm)
Height: 12 ₁₂/₁₆”(32.4 cm)
Depth: 4 ₈/₁₆”(11.5 cm)
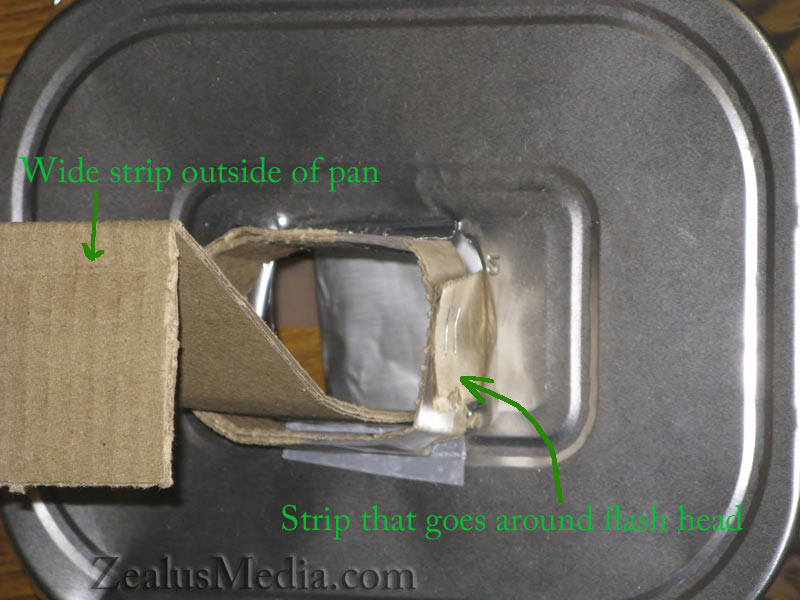
I cut through a hole in the bottom of the pan, pretty much just like any other DIY how-to suggests. However, since I wasn’t using more rigid pan – I had to come up with a way to reinforce the part that will be attached to the flash. So I cut 3 stripes from some piece of cardboard laying around – these could be available for free around pretty much any store, hotel or sometimes on the street (at least in New York). One strip goes around the flash’s head, wide one goes outside the pan:
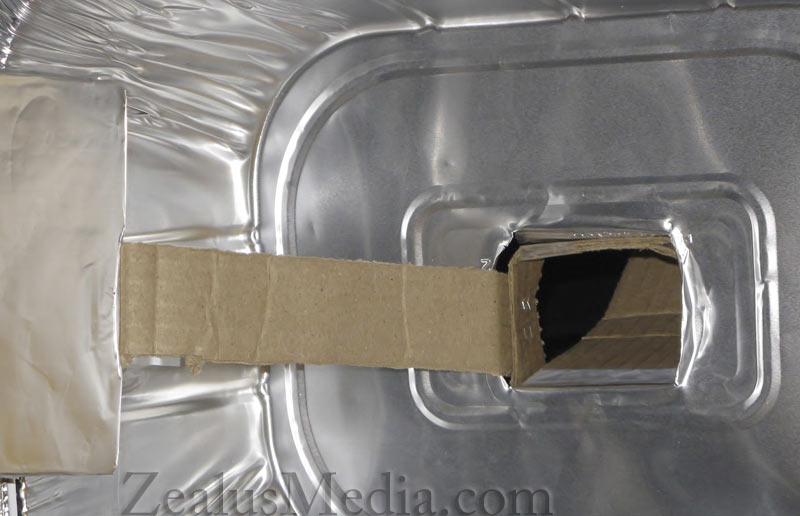
and narrow one goes inside the dish to support the reflector:
Fully assembled, the back side of our DIY beauty dish looked like this:
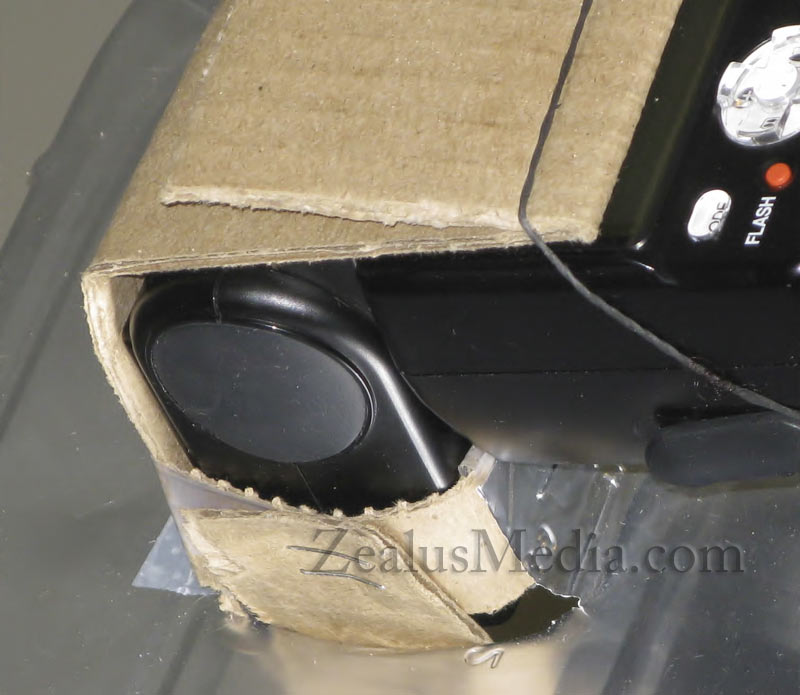
To be sure the whole construction won’t fall apart – I stuck parts together with transparent tape and stapled those parts that absolutely have to hold on together. I got staples from a regular stapler piercing through 2 or 3 layers of cardboard and pan foil, so in some places they needed a little shove through and finishing bend. However, the strip that goes on the flash will need to be secured with something that doesn’t damage the flash unit itself, so here comes rubber band or two.
Last piece of the beauty dish was the reflector – I just got the square piece of the same cardboard wrapped in cheapest foil on one side and stitched it all with tape on the other (no staples – they will ruin the foil on the front of the reflector). I then taped the reflector on top of the narrow tail of cardboard and secured (if I could call it that) the reflector with two strips of tape to the sides of the dish.
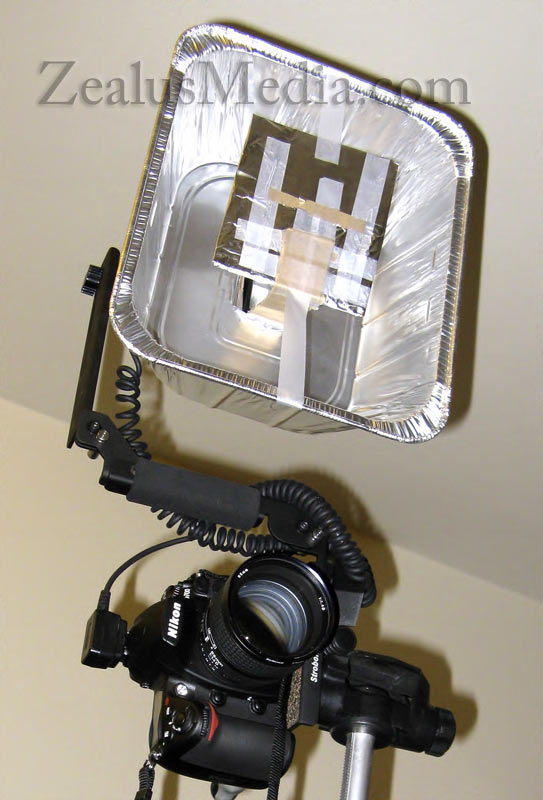
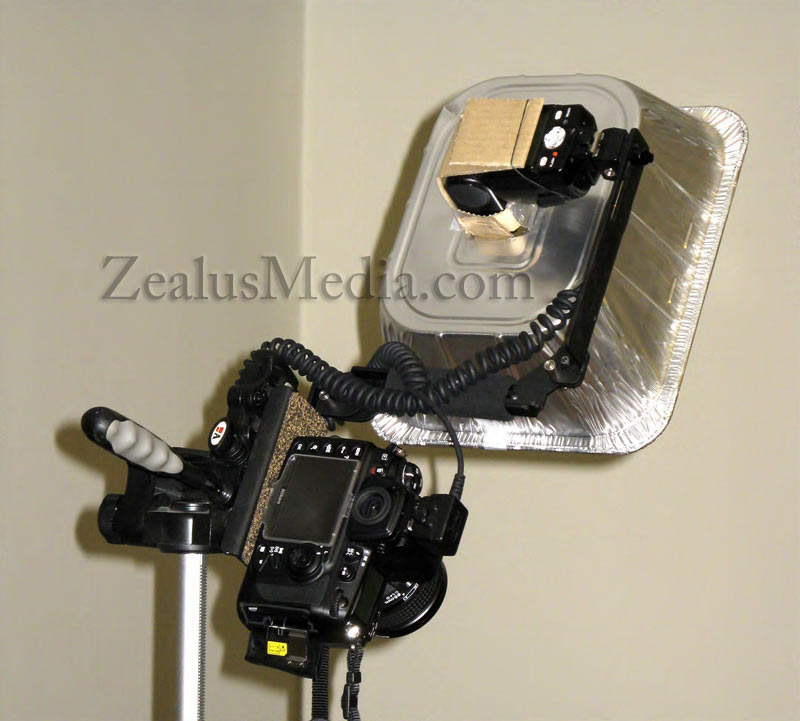
Now, our beauty dish is rather large for flash to fit on the hotshoe, so I used Stroboframe (which I would use anytime I use on-camera mounted flash anyway) to put the beauty dish as far away from the camera as possible. Complete setup looks cheap (which it is), yet somehow very functional.
Front:
Back:
The whole project took me about 50 minutes from start to finish. If I keep pretending that this is the same headshots project – the makeup artist is already done and hair stylist is half-way through. Which gives me about 5 – 10 minutes more to zero in on the lighting.
I set my Nikon D700 with 85mm lens to F-stop f/2.8 and exposure 1/250 s, SB-800 flash is in TTL mode. Here goes shot one – bare flash, no modifications:
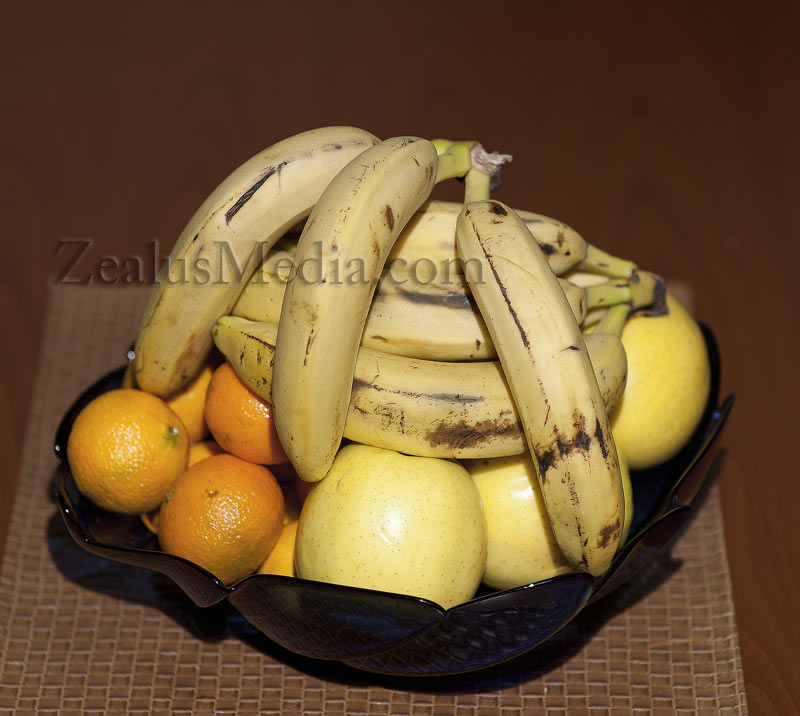
You can see harsh shadows and everything else that goes with bare unmodified flash.
Shot two, with beauty dish:
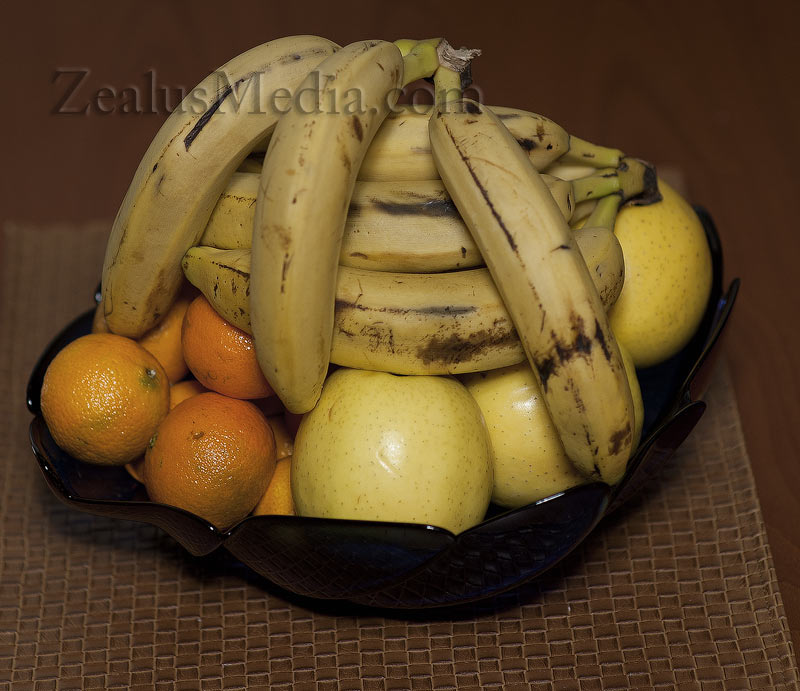
Definitely improved, but a bit too dark for my taste. I like the amount of light on the bare flash shot, but without the rough shadows and edges.
Shot three – I stepped up exposure, but you can also step up aperture if you want. I didn’t want to do it because the back of the shot would be lost due to shorter FOV. Alternatively (aha! another cheap trick!) you can fix the exposure in Photoshop if you shoot RAW.
Nice! Now let’s see what it cost me to build this beauty dish from the scratch, pretending I am really out of things I easily found in my apartment. Given that all these items can be purchased at one or two stores, it’s not really running around looking for stuff project either.
Pressed foil turkey pan: $0.67
Transparent tape: $0.99
Wrap kitchen foil: $1.69
Cardboard/Breakaway knife: $0.99
Rubber band: $0.99
Stapler: $3.29
—————————
Total: $ 8.62 + tax
I have my AlienBees 22″ white beauty dish arriving around Tuesday, so I’ll see if I will have enough time to post a shoot out between the DIY beauty dish and a real one. However, if you are really on a budget or just need something useful done in an hour on less than 10 dollars budget – here you go!